Re-creating my portfolio with Gatsby

You may have read Re-creating my portfolio with React where I talked about my experiences converting my simple static portfolio into a React website, turning reusable objects on the page into React components. This inspired me to learn Gatsby, a static site generator that uses React.

I was previously using my a category on my photography WordPress blog to host my blogs about web design and projects. This was a bit of a weird experience for users as if they chose to read more about a post on my portfolio, they’d be directed to my photography site. Gatsby allows me to pull in all the posts from WordPress and create a new site. This also allowed me to store all of my portfolio items as WordPress posts. I installed the Advanced Custom Fields plugin to handle the tech icons and button links.

The site is now insanely fast hosted on Netlify and using Server Side Rendering. Gatsby’s links also make navigating from page to page incredibly quick.

Whenever I want to add content to the site I just login to WordPress, create a new post under the relevant category, with a tag for if I want it to be displayed on the homepage of my portfolio. I hit publish and a new Netlify build is queued then deployed using the Jamstack deployments plugin.

I want to build every website this way in the future. It took me about 2 days to set up, so it’s incredibly quick to develop. Plus, sites are faster and more secure on the Jamstack.

Re-creating my Portfolio with React

I’ve just finished recreating my portfolio using React. There aren’t very many visual changes apart from changing the hover effects a little. The site features a lot of repetitive content, such as portfolio items. React is good for this because I can create a component for the item which minimizes the amount of coding required. Having components also saves time in the long run because if I want to update a component I’ll only have to do it once rather than multiple times. As part of the process, I tried to make the code more readable, by including comments in each file, and separating out the Sass so it’s more manageable.

After attending several interviews, there was a common question that came up: What technologies did I use for a particular project? As a result of this, I have included icons beneath each project in my portfolio indicating the different technologies that I used. I have also brought back the GitHub contributions image.

Re-doing my portfolio

I built my web design portfolio site over the Christmas of 2018 and decided it needed a bit of a refresh during the summer.

I got in touch with the @_tashhockey, the person behind Honest Feedback, to give my website a bit of a review. She made some really good points and brought to light the fact that I was trying to make my website too much. It was my personal space to show off my work, it was for clients, and for future employers.

It took me a few months, but I decided I was going to focus on making my website a portfolio to show future employers. Something else is in the works to show clients.

I took out a lot of the content which had the added benefit of making the page load a lot quicker, and took a lot less time to scroll through. It now features my best websites and that’s it.

On mobile I made the portfolios scroll horizontally which means that the user doesn’t have to scroll past loads and loads of content.

I’m really happy with the design of the website so I only made some minor tweaks to colours to make things more legible. Redoing my portfolio provided me with a chance to brush up on my JavaScript and jQuery skills too.

Web Design Portfolio

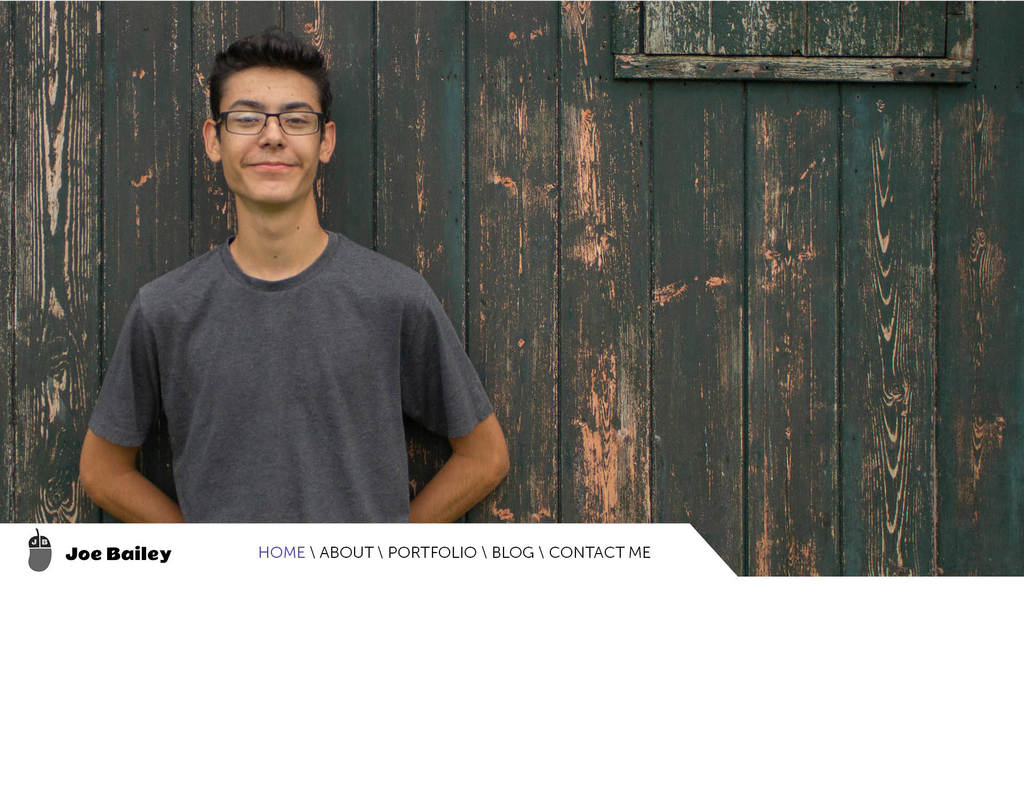
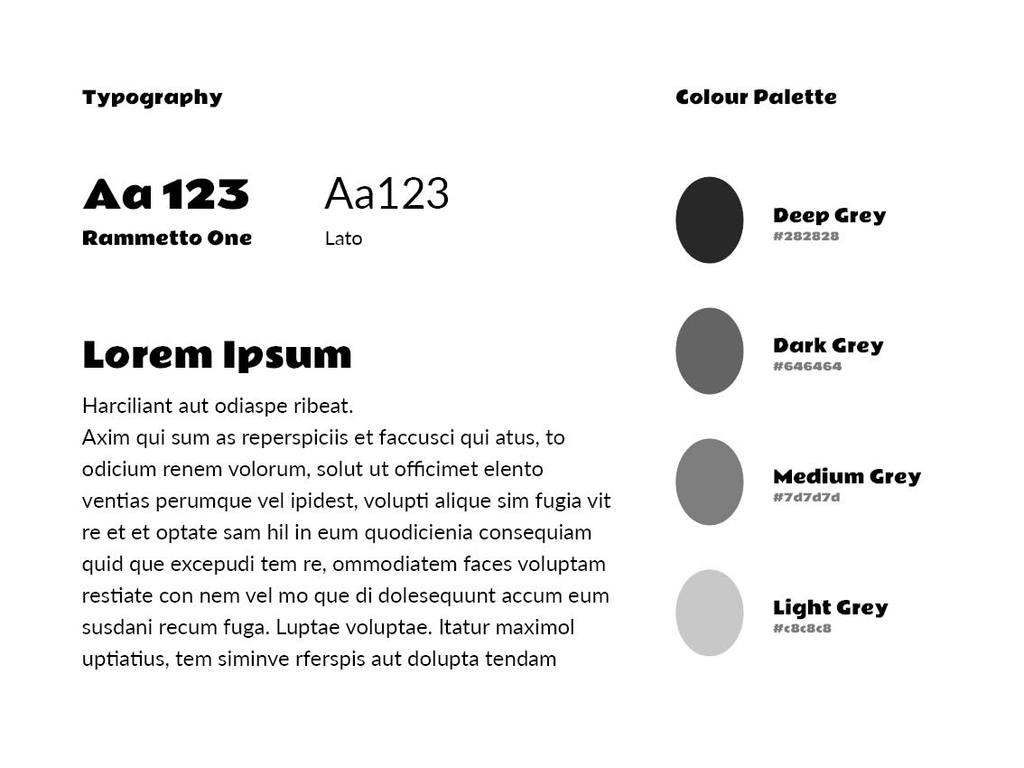
I’d been meaning to update my portfolio site for quite a while as I wasn’t really happy with the design. The long Christmas break gave me a chance to do just that. I was inspired by this template. In my lectures, we’d been learning about Figma and UX design. I wanted to use this redesign as an opportunity to learn more. I also learnt a bit of bootstrap and flexbox at the same time. I’m really happy with my site and it showcases all of my skills. You can see it here.

Logo design for a Web Developer

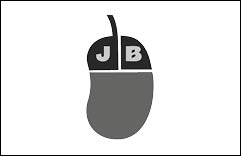
My first project at university was to write a report on how I designed a set of logos to brand myself as a web developer. We had to include research, feedback and final designs. I got a C1 on this report as I found it quite hard being the first one I’ve done at university. You can see the logo below:

joebailey.xyz

I’ve started creating a site to showcase my work as a web design professional. Once finished it will be live at joebailey.xyz I’m not really feeling it as much as my photography website, I don’t think the design flows that well, and it doesn’t really optimize for mobile all that well either. I think maybe in 6 months or so, once I’ve learnt more, I’ll design it again with a mobile-first approach. For now, I’m just concentrating on getting it finished and published as yet another example of my work.